

Continuing from the previous blog, we are now starting to deploy PHP and WordPress.
PHP deployment
Add EPEL and REMI repositories:
sudo rpm -Uvh https://dl.fedoraproject.org/pub/epel/epel-release-latest-8.noarch.rpm
sudo rpm -Uvh http://rpms.remirepo.net/enterprise/remi-release-8.rpm
Enable the PHP module
sudo dnf -y install dnf-utils
sudo dnf module install php:remi-7.4
update DNF, and then install
sudo dnf update
sudo yum install php-xxx # xxx is the package that needs to be installed
After the installation is complete, set up boot auto-start and start PHP
sudo systemctl enable php-fpm
sudo systemctl start php-fpm
Because our runtime environment is Nginx, we need to modify the PHP configuration file
and use a text editor to open /etc/php-fpm.d/www.conf
to find the user and group fields, and modify it to:
user = nginx
group = nginx
At this point, PHP deployment is complete, we can create any .php document in the root directory of the website and write:
<?php
        phpinfo();
?>
Using browser access, PHP works fine if a PHP test page can appear.
WordPress deployment
Download and extract the latest version of WordPress file in the /home directory:
wget https://cn.wordpress.org/latest-zh_CN.tar.gz # Download the latest version of WP
tar -zxvf latest-zh_CN.tar.gz # unzip
Move the extracted files to the root of the website and set permissions. (Please empty other files in the root directory of the website before moving)
sudo mv wordpress/* /usr/share/nginx/html/
sudo chown -R nginx:nginx /usr/share/nginx/html/
Restart nginx
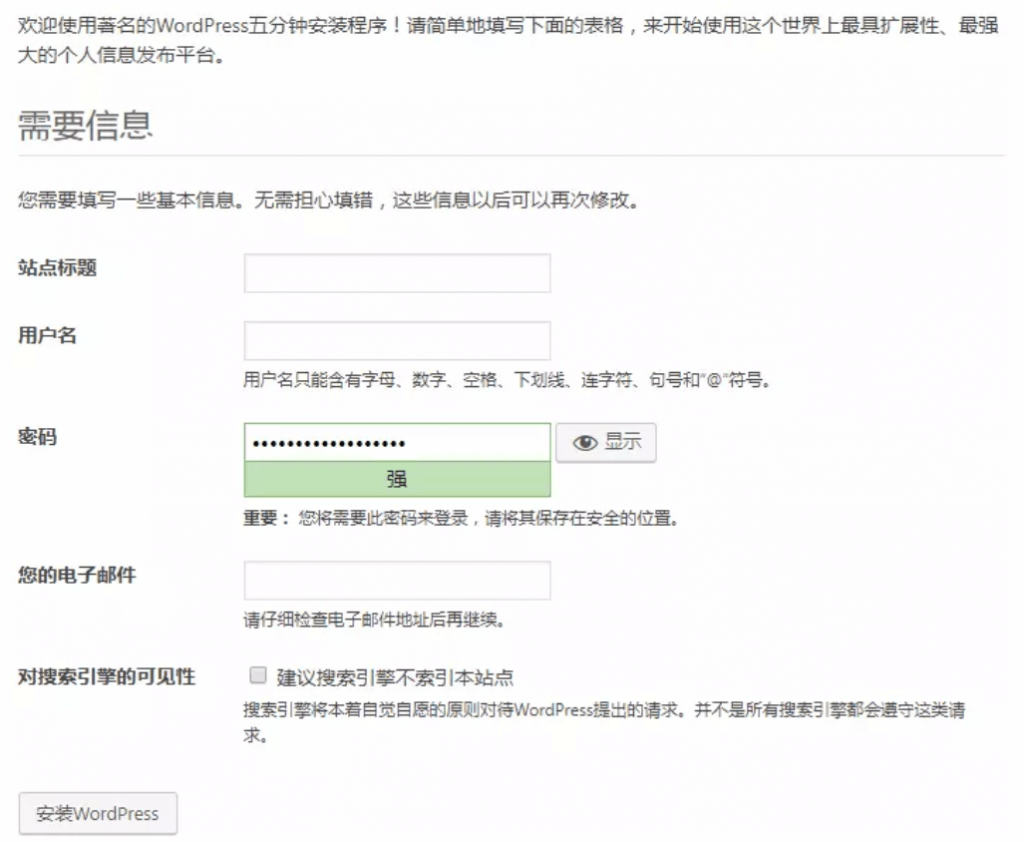
systemctl restart nginxAccess the server directly using the IP:port number within the browser, and if the WordPress configuration page can appear, the above steps are successfully completed. Next, let's start the WordPress configuration.
Fill in the WP database and password created in the previous blog and set it up:

Subsequent settings
Due to special reasons, the access to the official server of WordPress is very slow, and it is very likely that the IP address is blocked, and when beautifying WordPress and installing plugins, you can download it locally and upload it. At this time, it is very likely that you will encounter a 413 error reported by nginx, that is, the uploaded file is too large. We need to change nginx's file upload size limit:
Using a text editor, open /etc/nginx/nginx.conf, find the client_max_body_size item, and change the file size behind it to the desired size, set it to 20M here.
At the same time, you need to modify the upload size limit of php, use a text editor to open /etc/php.ini find upload_max_filesize lines, and post_max_size lines, change the file size behind to the desired size, set it to 20M here.
After the setup is complete, restart PHP and nginx:
systemctl restart nginx
systemctl restart php-fpm
At this point, the configuration is complete.